How to paint roses in oil - Step by Step

I love roses. There are more than 150 species of roses in the world. This one is one of my favourite. It is called 'Hybrid Tea Rose' and this one is in peach colour. I love the soft yellow with pink trim petals of it. So let's start painting!
Materials
1. Pre-stretched canvas 60x90 cm.
2. White Gesso for priming the canvas
3. Pastel pencil for drawing
4. Oil paint. I use Art Spectrum (Crimson, Cadmium red, Sap green, Ochre, Naple yellow, Burnt sienna, Burnt umber, Viridian green, Titanium white, Paynes gray and Ivory black) and Daler Rowney (Rose madder)
5. Winsor & Newton Liquin impasto for glazing
6. Oil paint brushes. (I use various sizes and material(Hog hair/Synthetic)
7. The reference photo
8. Oil paint medium. I use Medium W from Schmincke as it makes oil paint water mixable and clean up with water. no turps required.
Method
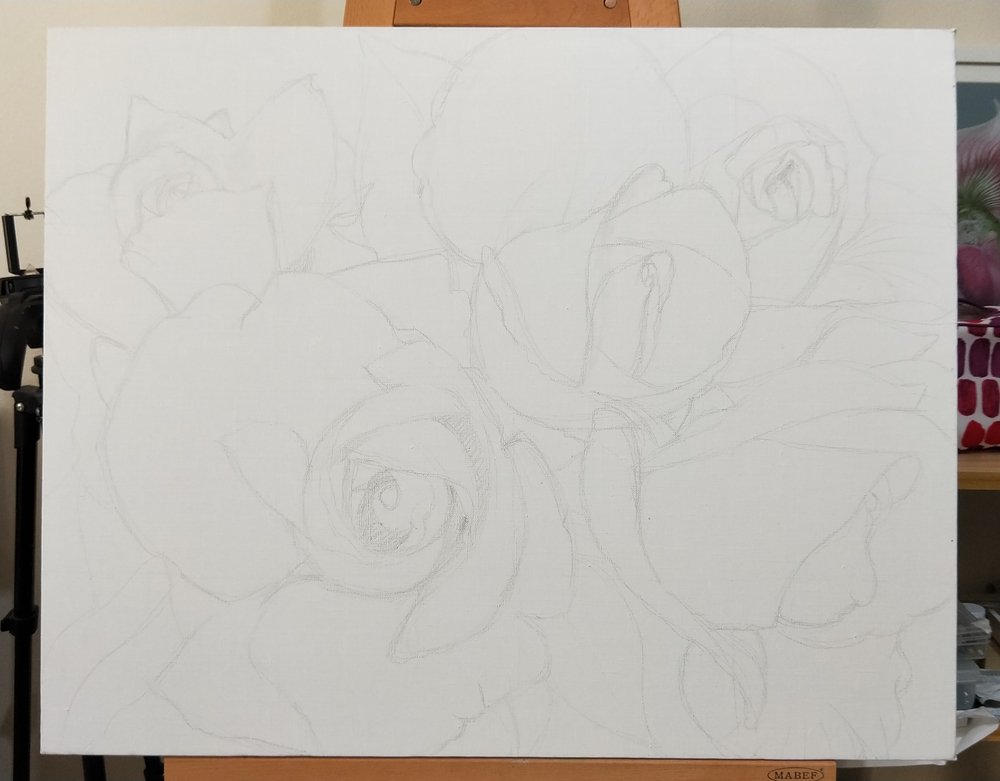
1. Tranfer the image from the reference photo to the canvas using grid method. I use pastel pencil as it is very easy to be wiped or erased off with a kneadable rubber if I make a mistake or need to change some details. It will also melt in with the oil paint and wont leave pencil marks on the painting as I paint fairly thin.
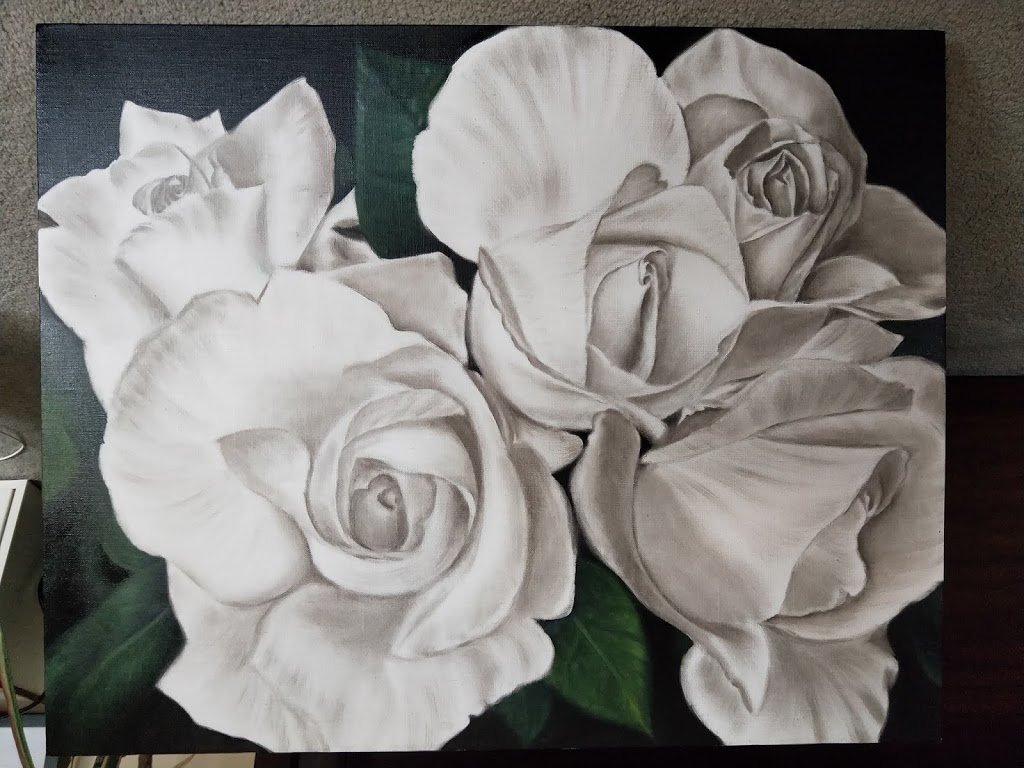
2. I start by blocking in the backgraound using just black paint and some medium. This allow me to see clearly when it is time to paint roses.

3. Then I move on to the roses. I start by painting each rose in monochome like black and white photoghaph. I use the same black paint from the background but mix with more medium to make it very thin. This method is called underpainting. It works as a base tone for the painting.

4. Keep painting the rose one by one. This way I can check the tonal value of the painting as I go. Tips. You can print the reference photo in black and white to use for this step. It will make it easier for you to see the tonal value of the image. The technique is similar to pencil drawing.

5. Once I finished all the rose. I leave the painting to dry.

6. I then start the second coat on the blackground to make it completely black. Then I paint the leaves. I like to paint subjects from back to front.
7. Then I move onto the roses. Again one by one. Section by section. I work with the reference photo very closely. The underpainting is very helpful at this state. It make the tonal value looks right and speed up the process.
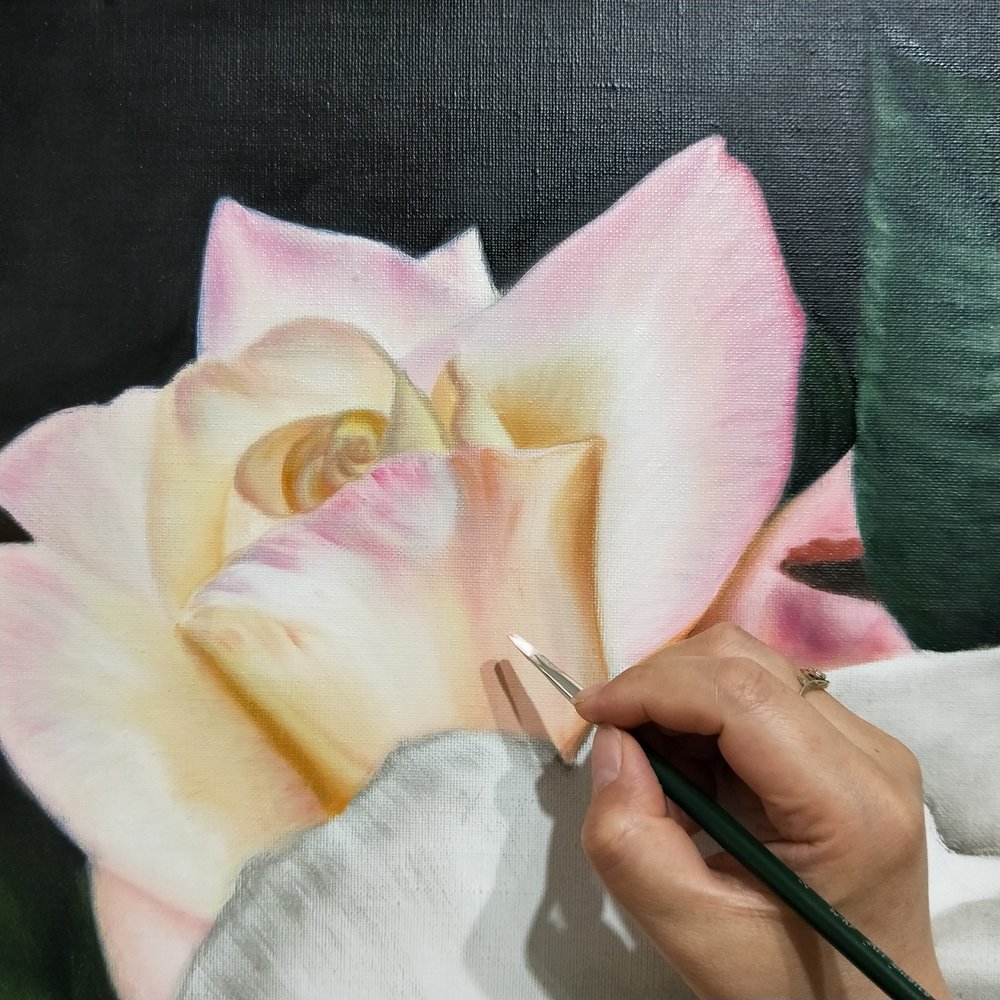
8. Keep going. One by one. Have a break in between. Enjoy the painting emerges.
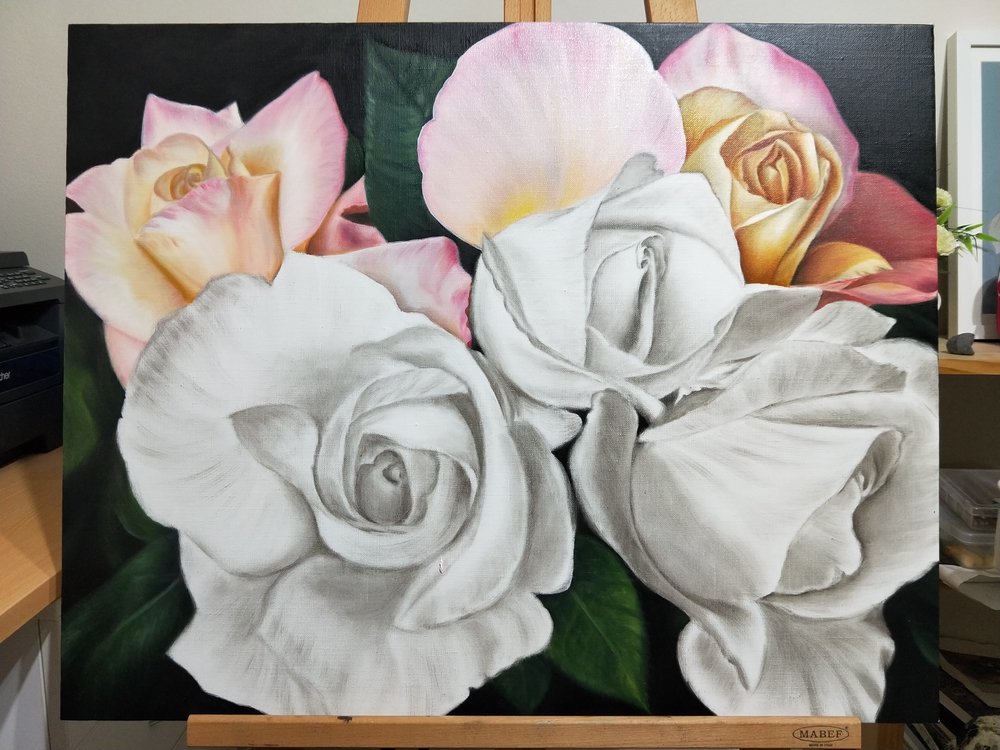
9. Another rose emerges.

10. And another one.

12. And finally, I finish with the last rose. I leave the painting to dry for a week. Then I will come back to it to check on the tonal value overall. Add more layers of paint if it needs. Check with the reference photo and keep on retouching it until I am happy.

13. And Here is the finished painting. I hope you enjoy.
